[vc_row][vc_column][vc_column_text]

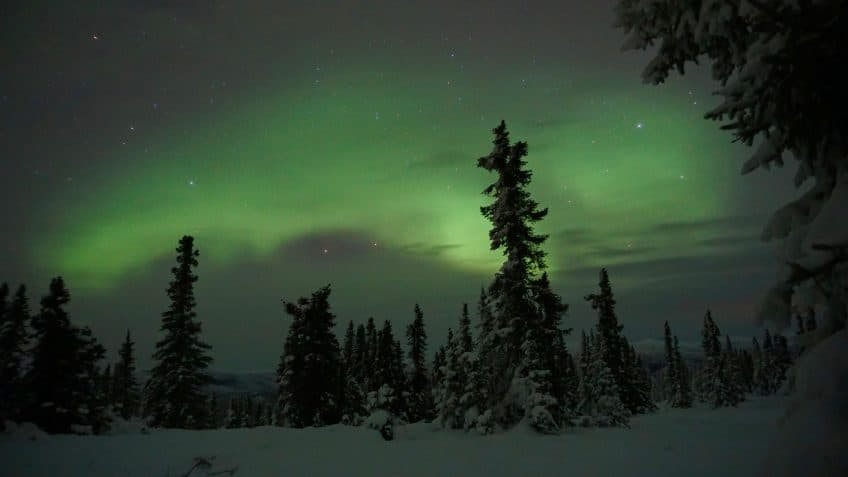
You can see the phenomenal Aurora Borealis in Alaska, just a short flight from California. It’s a rare experience, but well worth waking up in the middle night for (or even, waiting in the brisk outdoors for 5 hours to see them come out!).
Peak viewing season is in smack middle of freezing Alaskan winter when the weather is the coldest and it’s usually the darkest out. Usually, September to March are the best months for prime viewing. So if you decide to travel to Alaska during summer, chances are you most likely will miss them. If the lights are your highest priority,
If the lights are your highest priority, be prepared to bundle up, it is seriously one of the coldest, but breath taking opportunities of a life-time![/vc_column_text][/vc_column][/vc_row][vc_row][vc_column][vc_column_text]
Best time to see the lights:
Well first and foremost, you can only see them at night, so you want as much darkness for more vibrant images. The best time to go for the Northern lights is from September until about April, prime winter months. Also, the best hour for seeing the aurora’s is 11:30 p.m.–3:30 a.m, when the sky is usually clearest.
That’s when they are the most frequent and most vibrant. Always check the GI Forecast before you go head out to make sure they will come out. You are looking for a number above 3 on the scale for a good chance to catch them![/vc_column_text][/vc_column][/vc_row][vc_row][vc_column][vc_column_text]
Where to go:
[/vc_column_text][/vc_column][/vc_row][vc_row][vc_column][vc_column_text]
Anchorage:
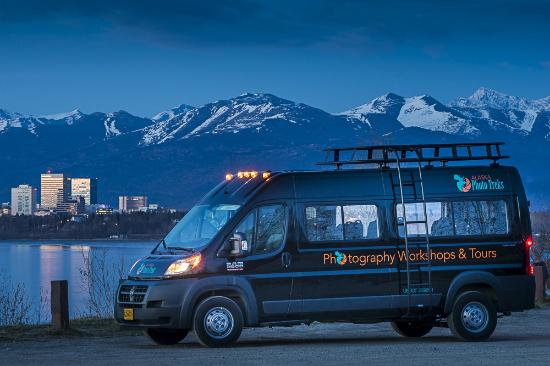
We first attempted our hand at hunting for the Northern Lights in Anchorage. We recommend going with a tour guide if you try to find the lights, especially in Anchorage. We went with Jody over at Alaska Photo Treks and she knew the BEST spots to see the lights in Anchorage.
The tour is led by a professional, local Alaskan photography instructor (Jody), who guides you (and FEEDS you!!!) through the best spots to see the Northern Lights in Anchorage. We also saw some Alaskan wildlife en route away from the city lights.
We booked a tour for the first two nights (just in case the lights didn’t show the first night) in Anchorage, where we also saw some Alaskan wildlife en route to the perfect spot for the auroras.

Meet Deakon, a fearless pup that left his home to join us on our adventure. Don’t worry, he was brought back to his home after we found him roaming the streets and gave him a few snacks and cuddles.
Anyway, it is really cold out especially at night and Jody’s big warm truck was a great spot to hang out while we waited for the greens to peak. Did we mention she feeds you? And has hot chocolate? (Hot chocolate gives me warm fuzzies in the cold :) ) Hanging out with Jody was definitely a treat.
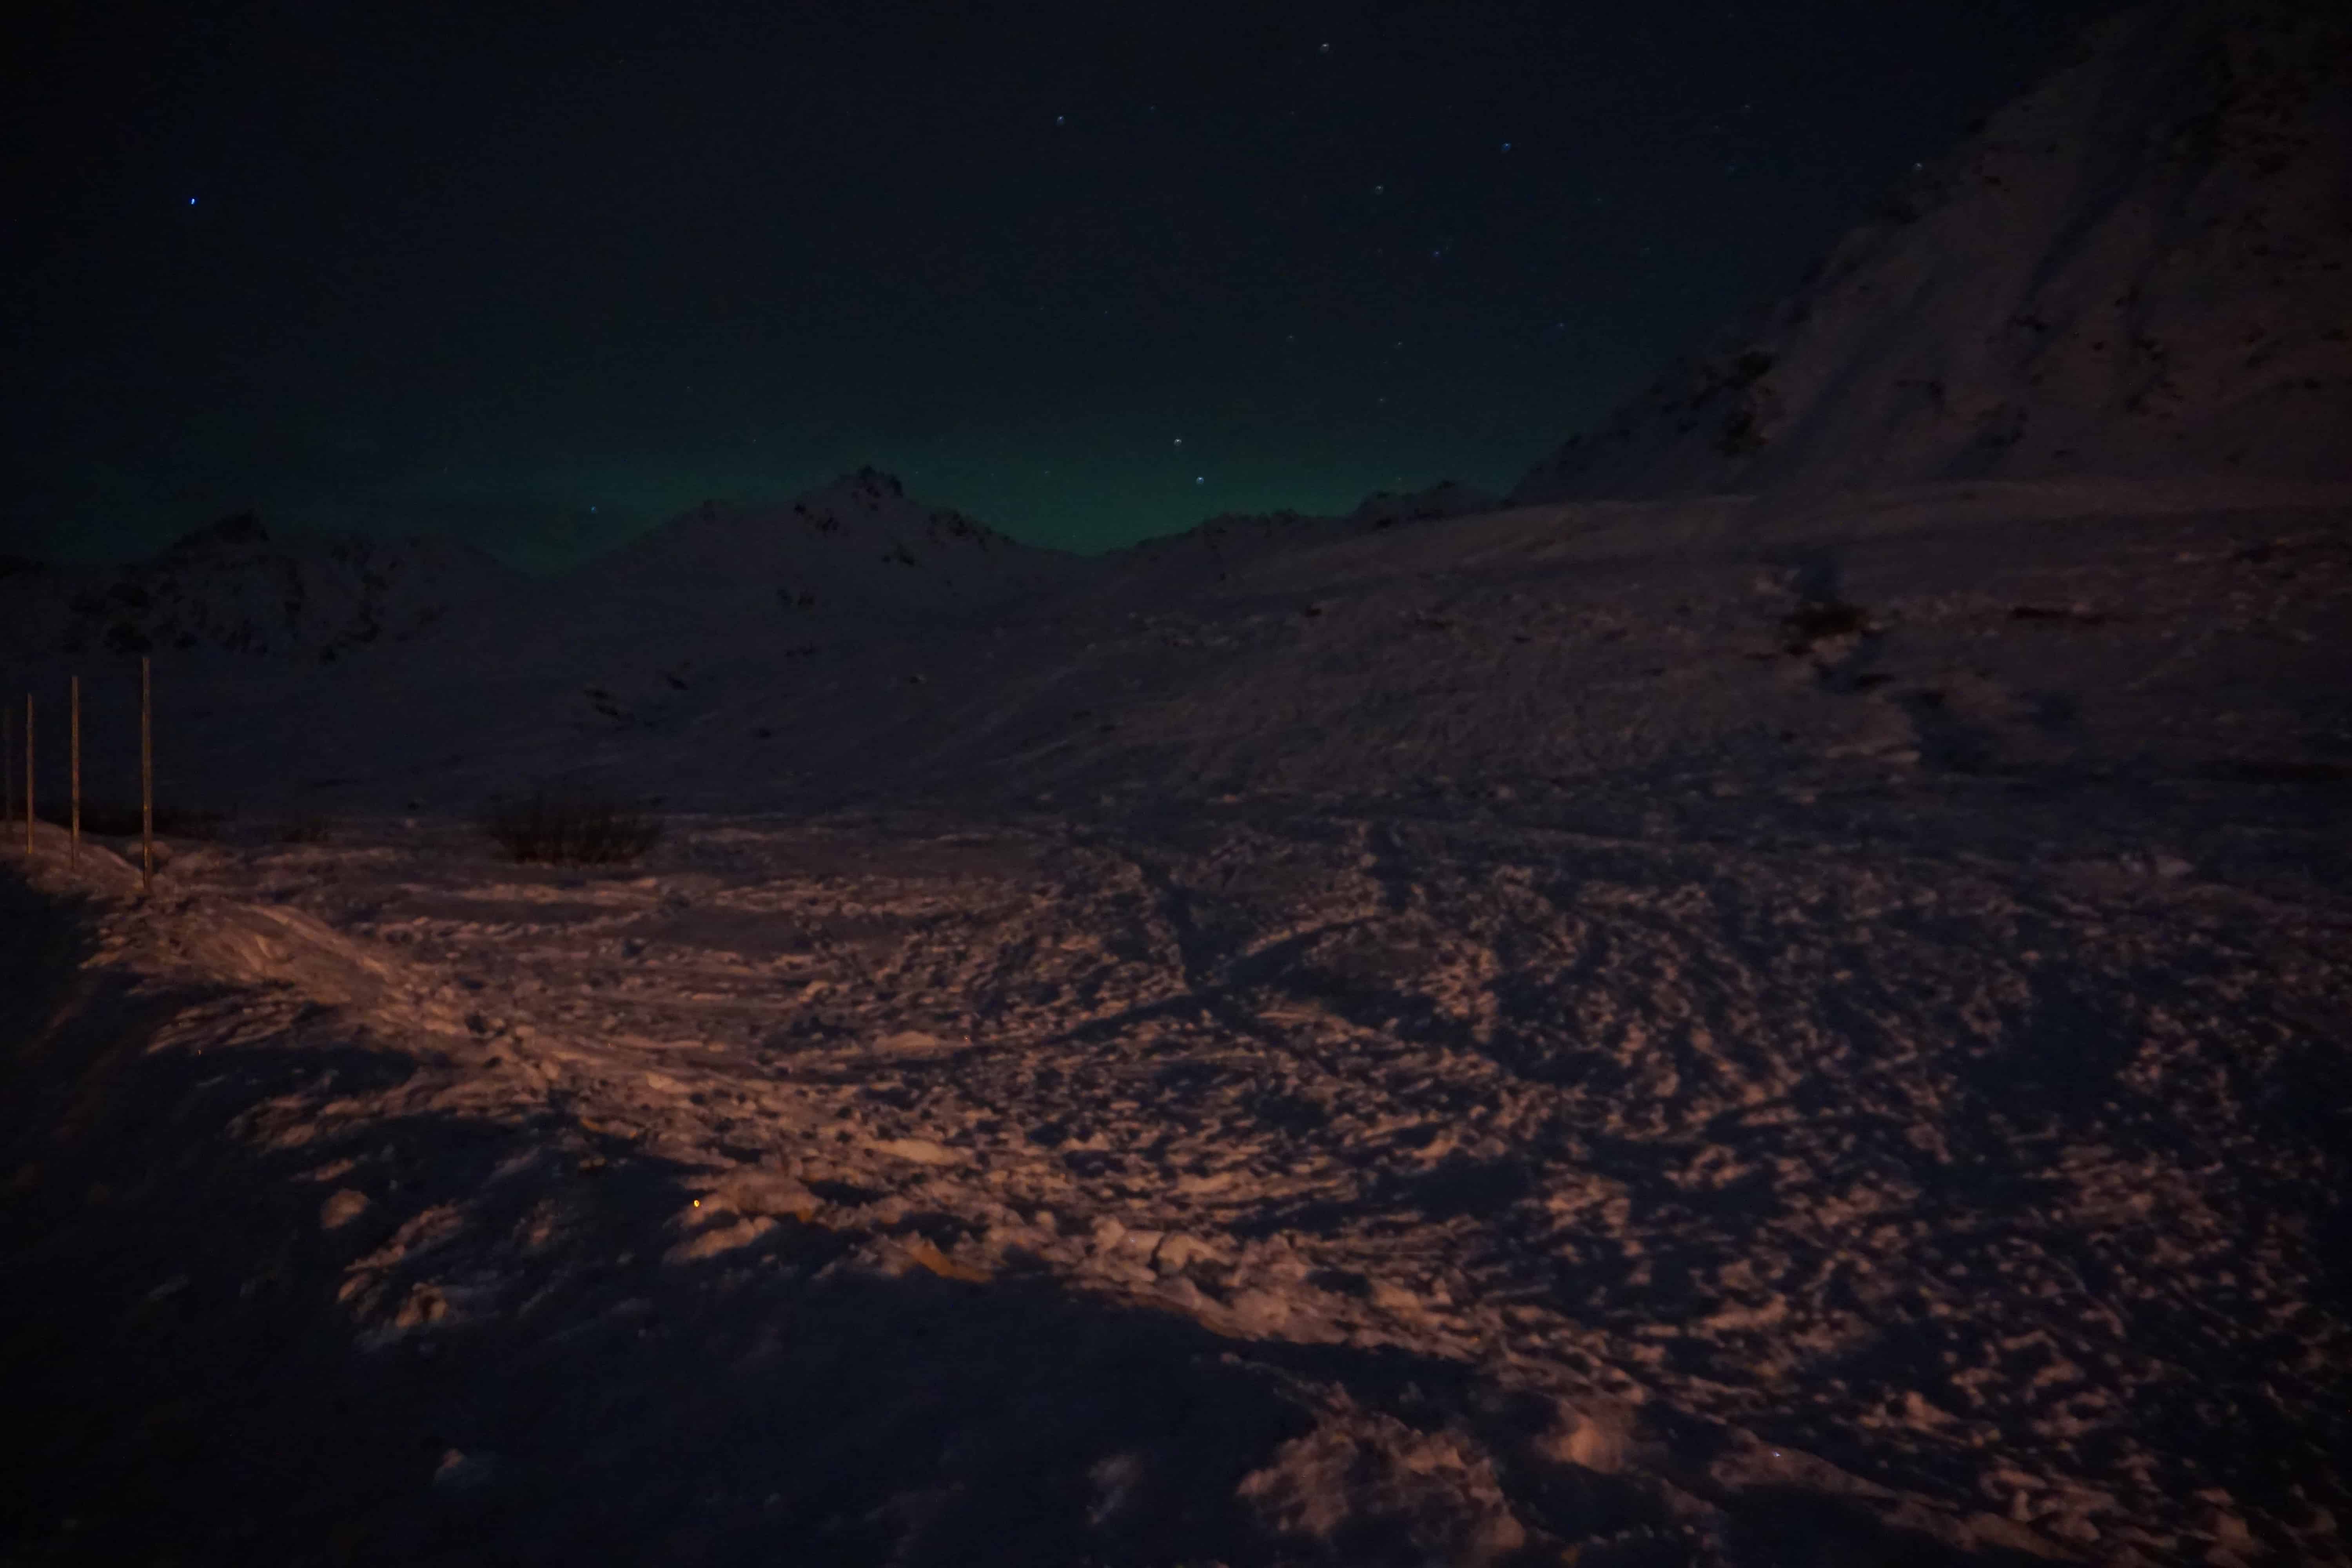
As we set off into the darkness, we tried our first location by the Knik River Resort where we saw a faint sign of the Auroras in the distance. Since Jody is the expert, she offered to drive over to Hatchers pass to see if the Auroras would come beyond the mountain peaks.
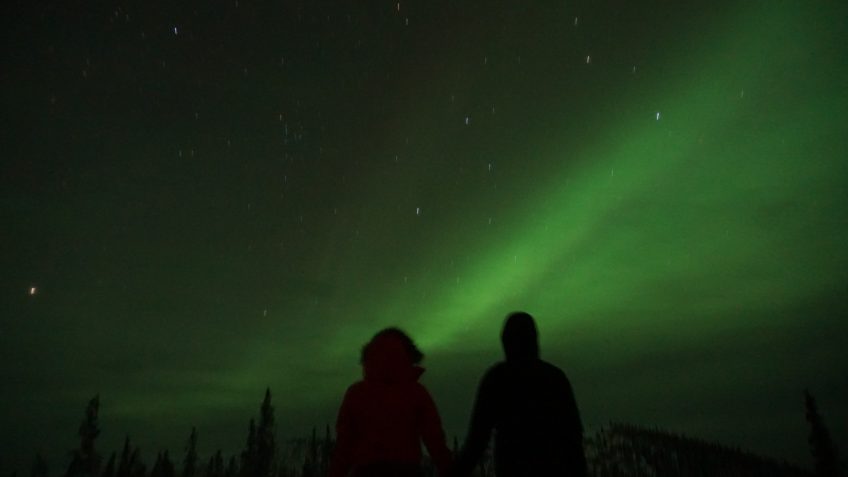
Although we didn’t see them strongly that night (lots of clouds came rolling over), Jody still taught us her best tips to photograph them. This is how we took our first Northern Lights picture sans Jody’s help… not great (but our technique surely got better thanks to her).
We aren’t photography experts (obviously), so we are super thankful that Jody helped us with figuring out how to properly photograph the lights. With time and patience (and lots of it) we finally almost mastered the art of photographing the lights – all thanks to Jody!
We’ll go in more detail below on how to capture them.
Since Anchorage is more South, the lights are more of a hit and miss than other spots in Alaska. And the further away from the Anchorage city lights, the better visibility (and photo capturing abilities) you will get. Jody knows great areas to get away from the city lights pollution and get the ultimate photo in the perfect setting.
Also, if you decide to go with a tour, you should book more than 1 day. There is no guarantee that you will see them the first night of a tour. It’s mother nature, so it can be a bit tricky to see the lights. Booking more than one night gives you higher chances to see the lights.
If you decide to brave the icy roads and rent a car in Anchorage, you can take a road trip up to Nancy Lake State Recreation Area in Willow or Talkeenta and you might be able to spot them!
Fairbanks:
While you can potentially see them all over the state of Alaska, one of the most reliable spots for the Northern Lights is in Fairbanks. Fairbanks is up north, smack in the middle of Alaska, and if you check the GI forecast, Fairbanks is right under the “aurora oval,” where the auroras are seen most frequently. Perfect for Northern Lights photography!
Perfect for Northern Lights photography!
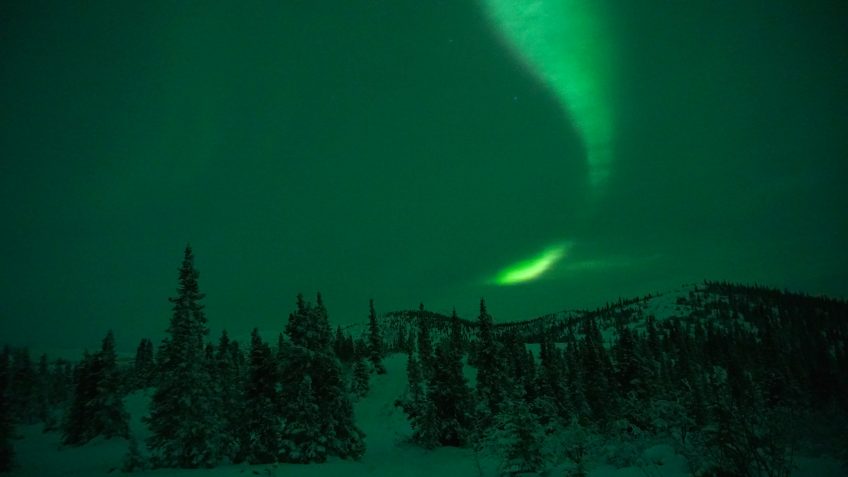
We went to the Chena Hot Springs Resort, about a 60-mile drive up north from Fairbanks, specifically to get the best chance to see the Northern Lights. Chena is actually renown for being one of the best places on earth to see them. It is very secluded and away from the light pollution from Fairbanks, the resort is right
Chena is actually renown for being one of the best places on earth to see them. It is very secluded and away from the light pollution from Fairbanks, the resort is right under the most active band of northern lights, and the skies are generally pretty clear.
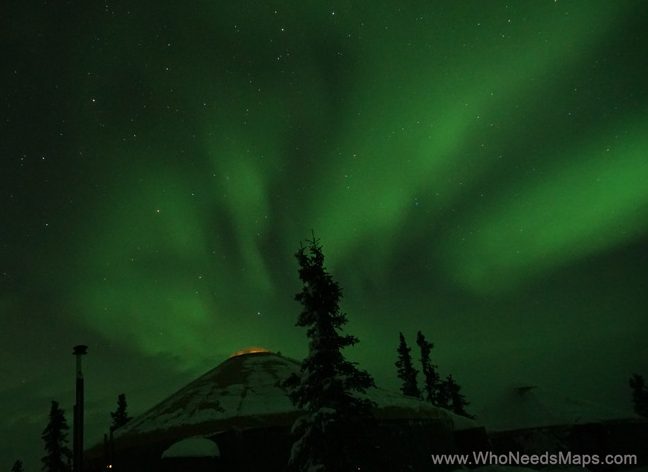
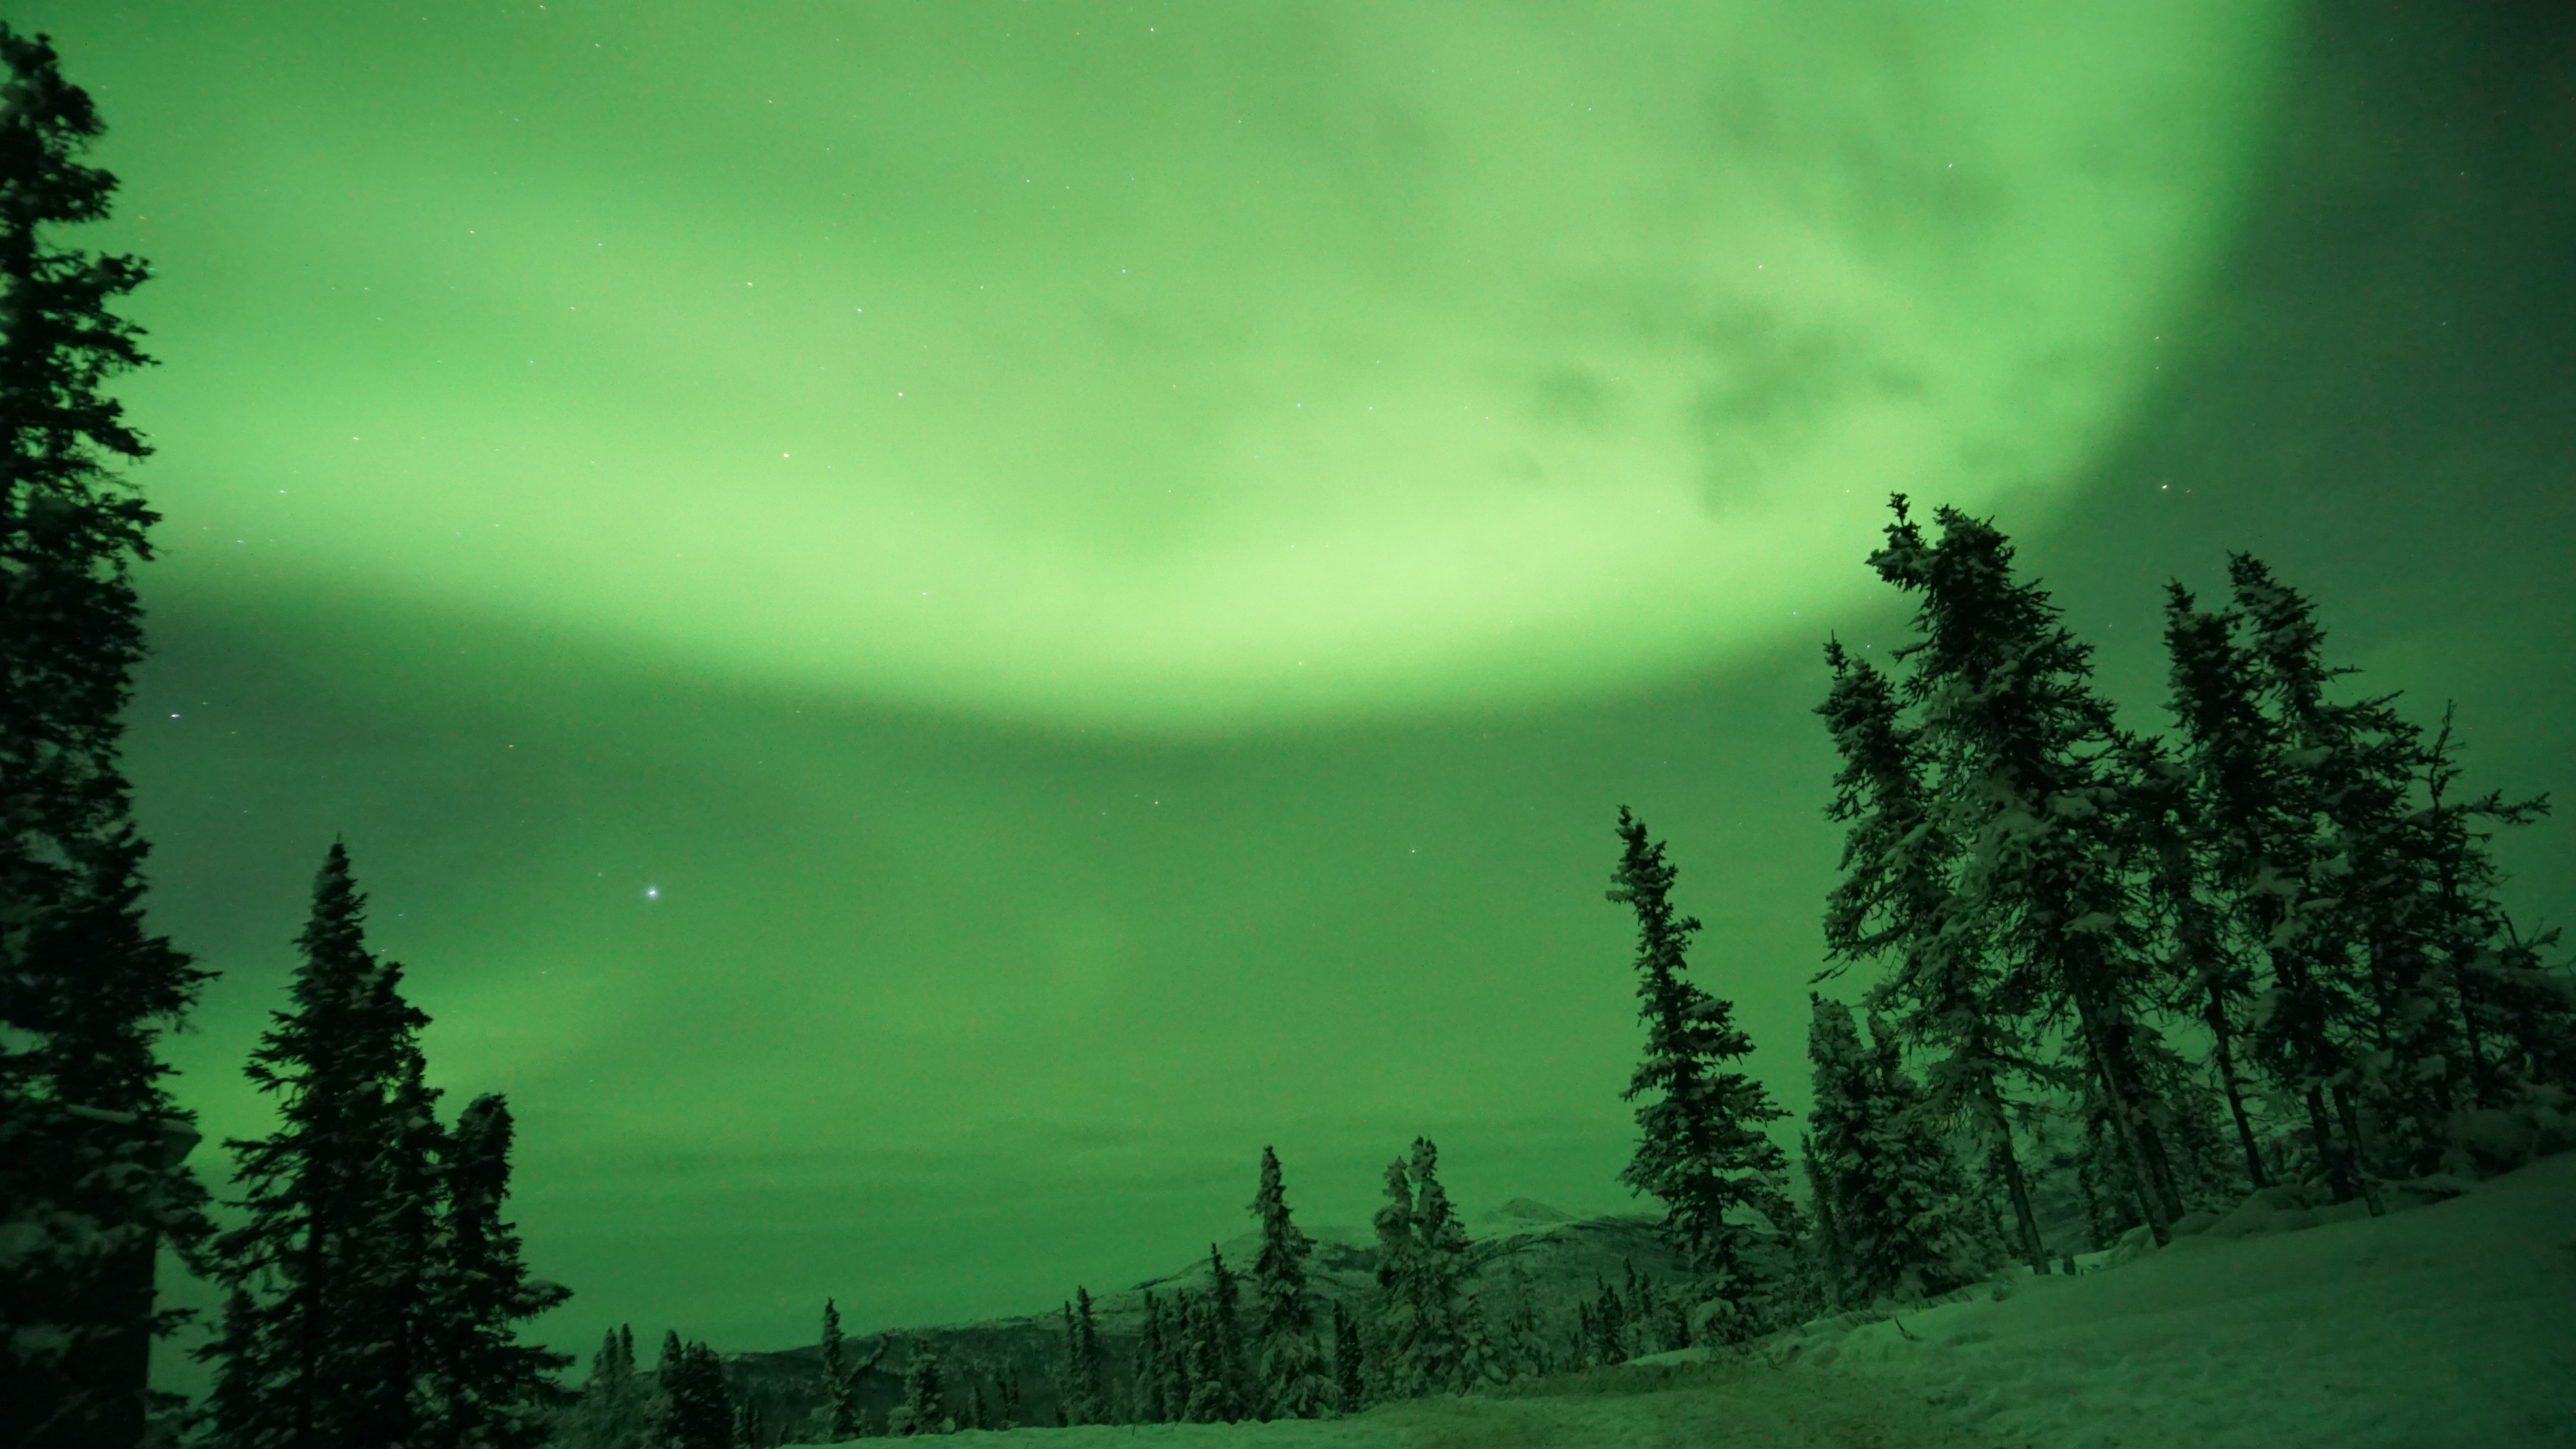
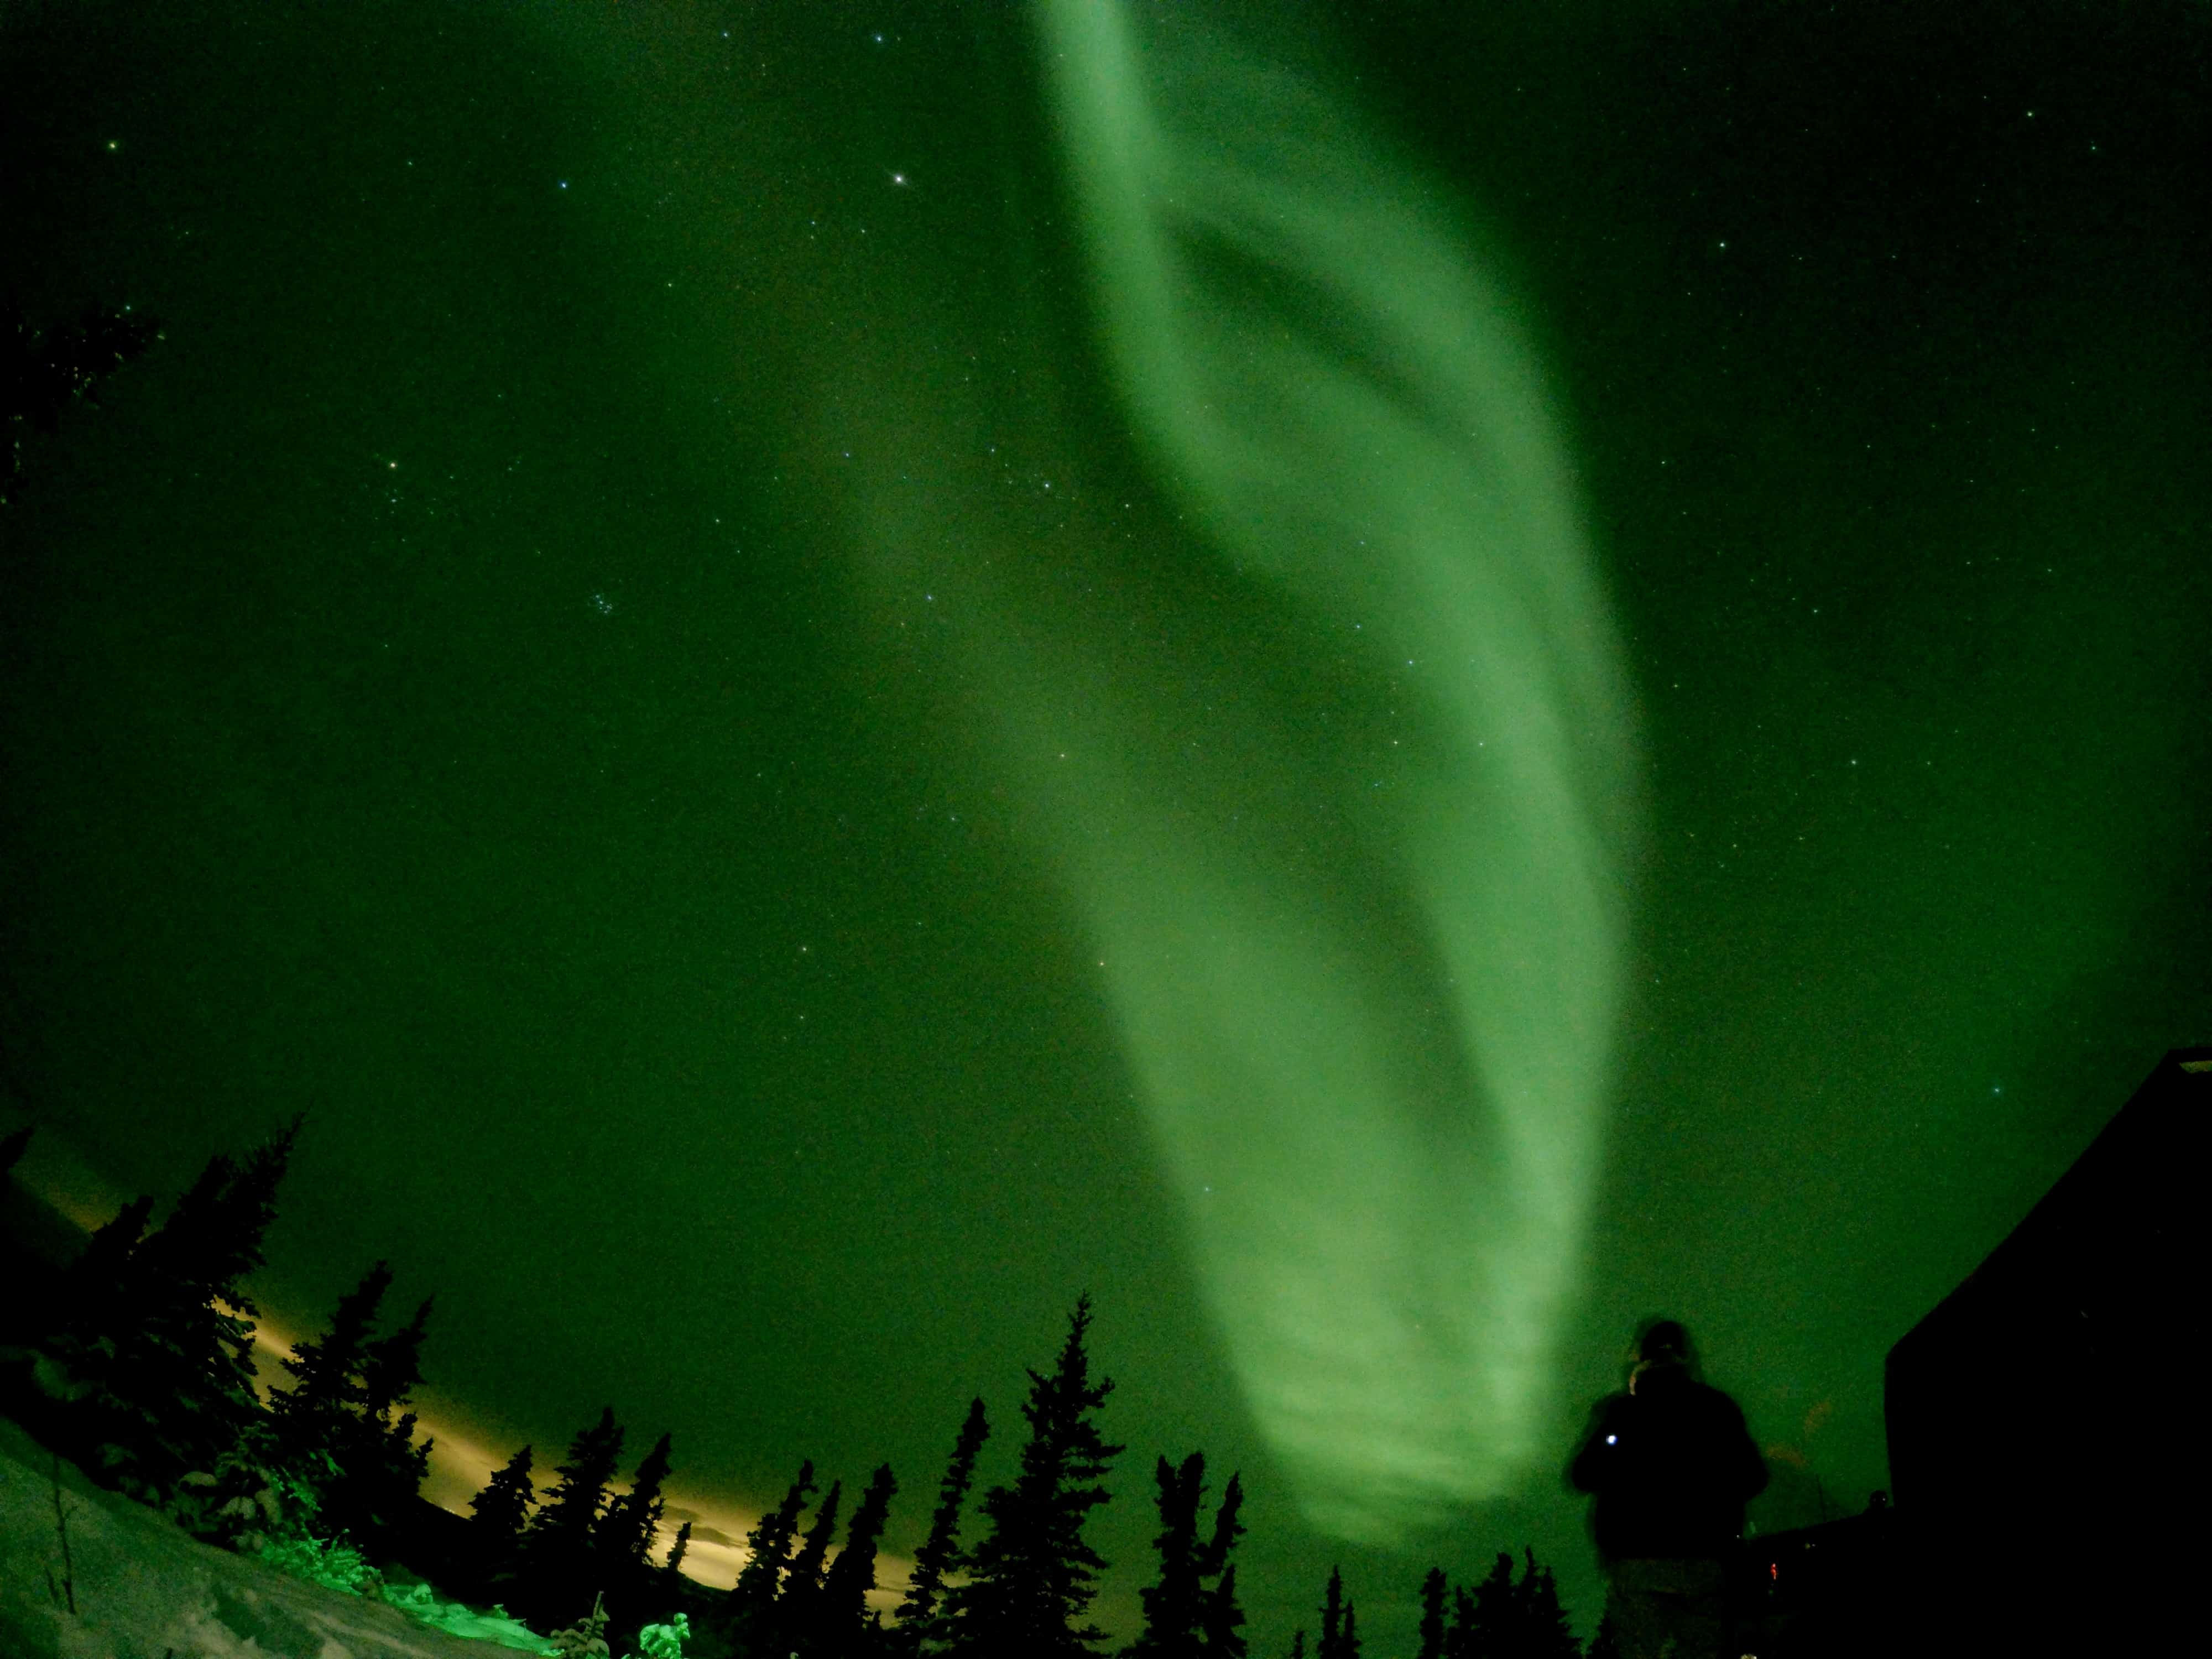
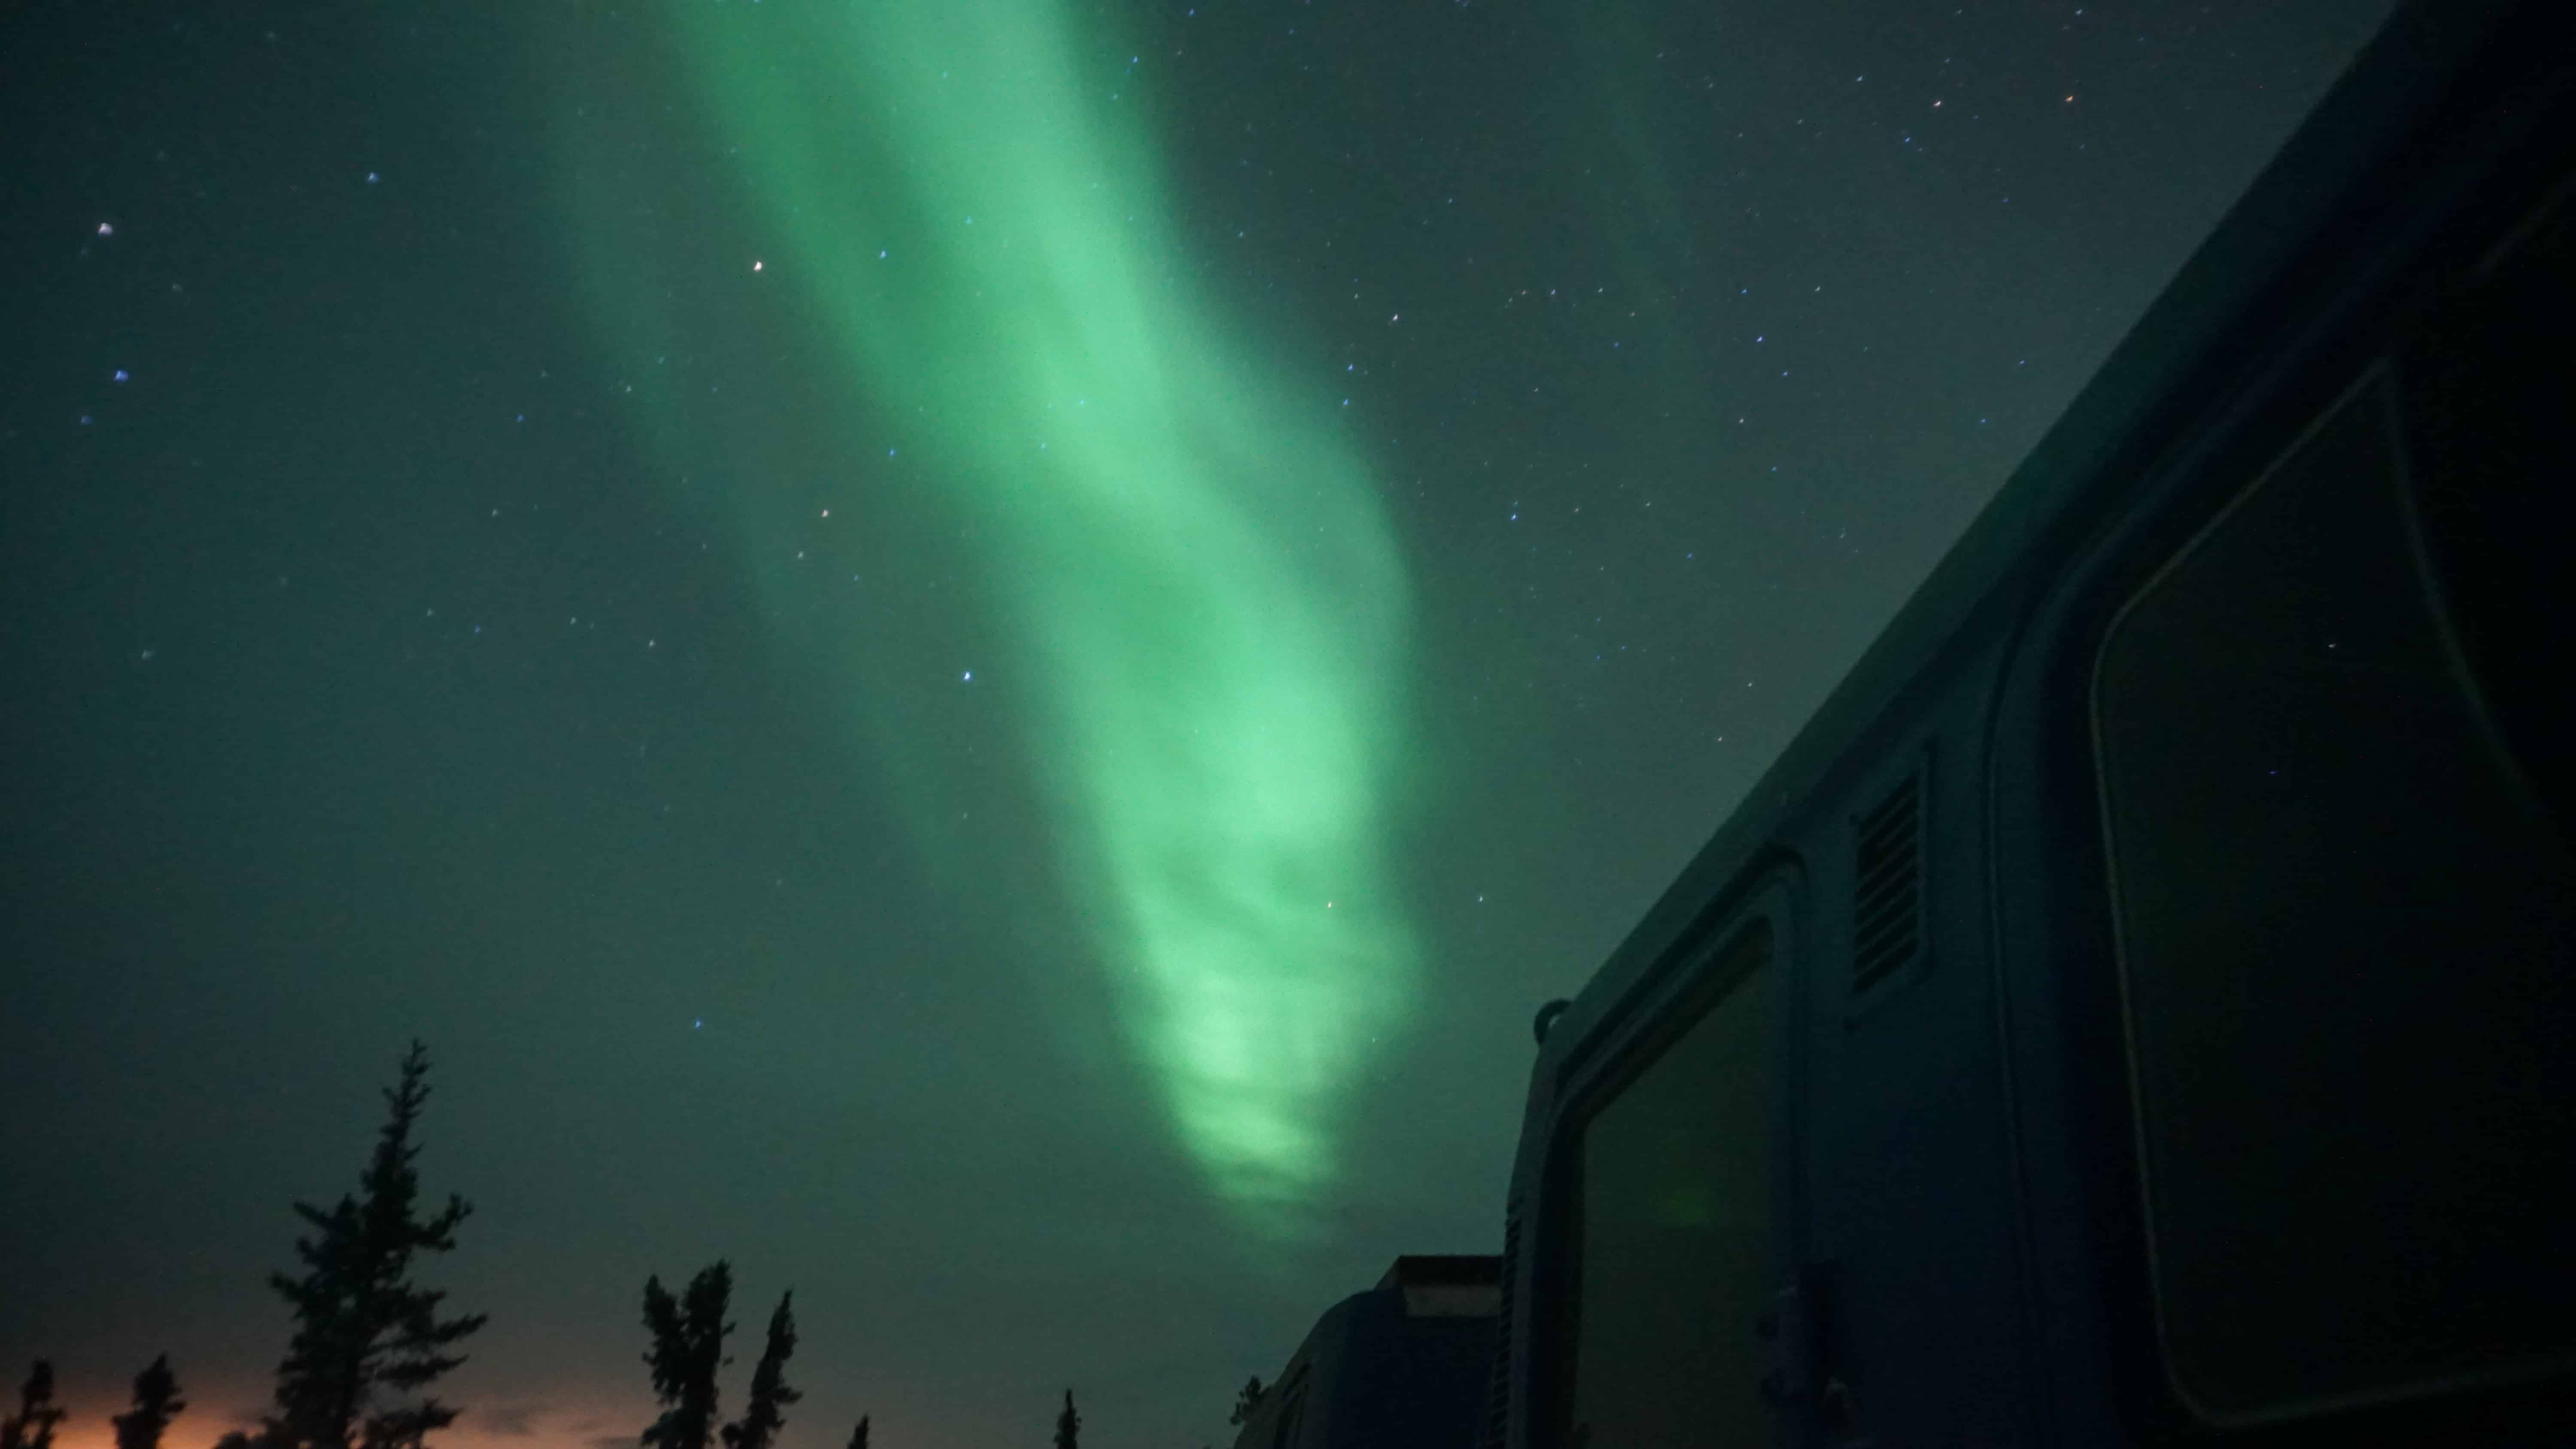
From Chena, we did a tour that brought you up to a mountain with a yurt at the top (filled with hot goodies -hot cocoa, cup of noodles, oatmeal, and even heating lamps) – and that is where we set up our cameras for 5 hours to see if the blaze of lights would come out.
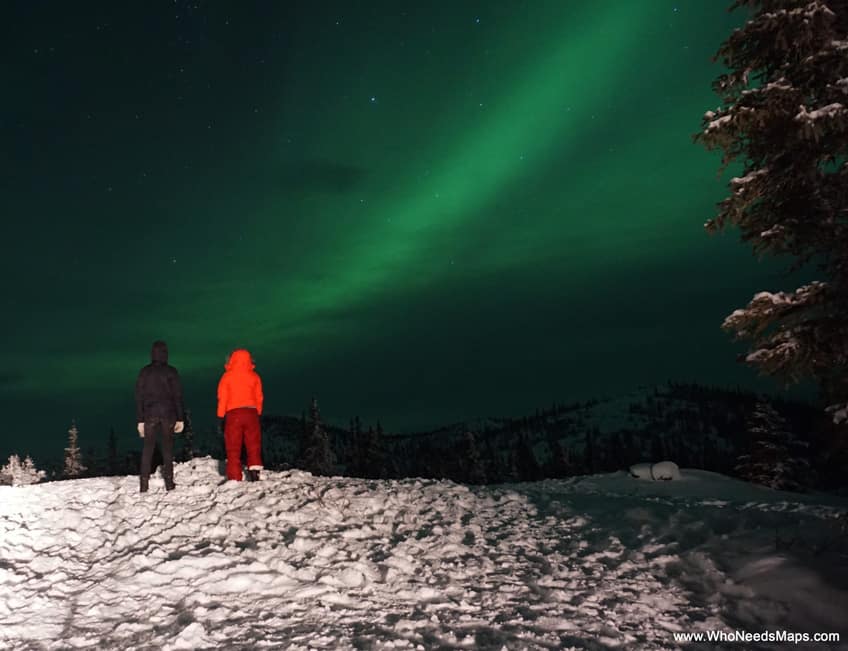
We got really lucky, they were super strong when we were in Chena, and we put everything Jody has taught us to use. See? Quite the improvement.

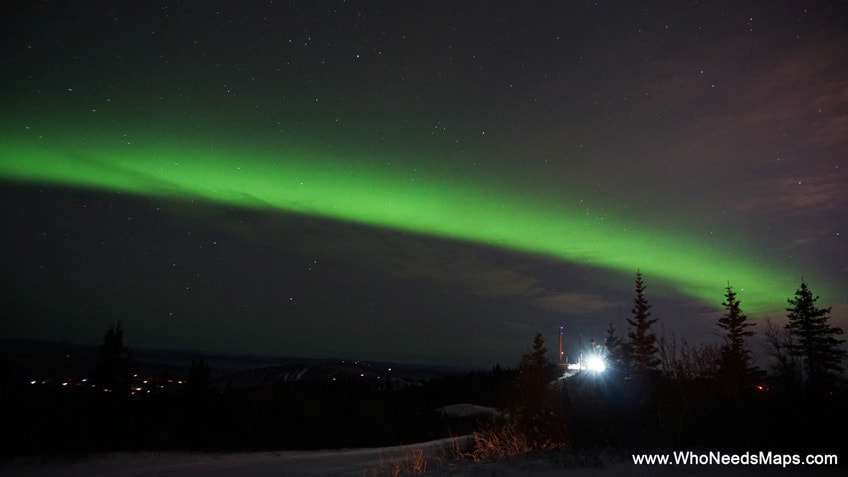
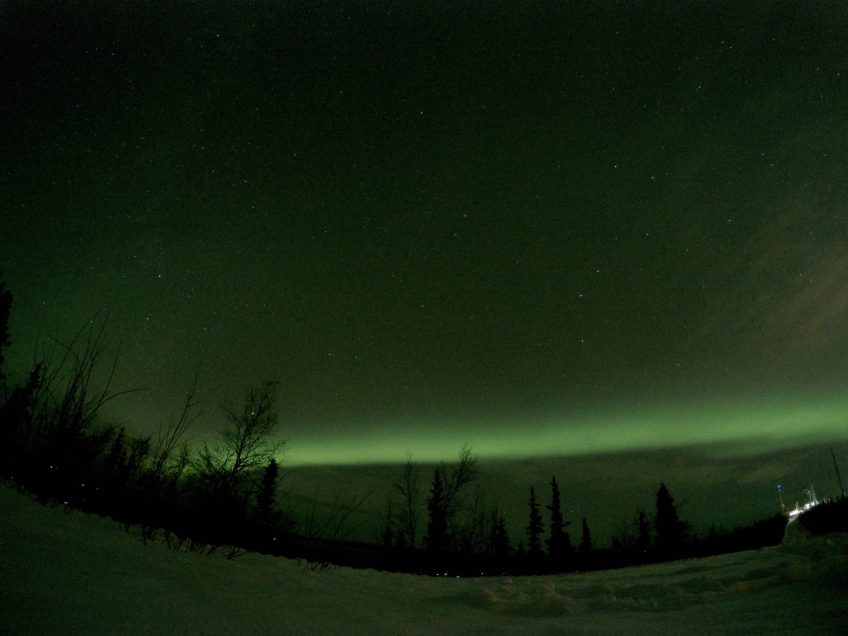
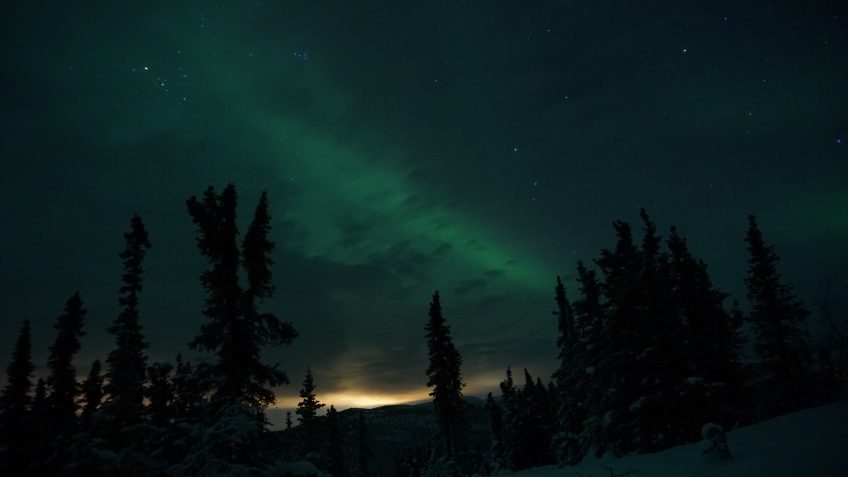
We also tried our hand to see the Northern Lights on our own, and well, although they were BEAUTIFUL when we tried, the location could have been a little better (we had a some car lights shining and city light pollution). Not to mention, we didn’t have hot cocoa in the car either, which is always a bummer.
Please note, even though Fairbanks is a popular spot to see them, they are not always guaranteed. Oh, mother nature…[/vc_column_text][/vc_column][/vc_row][vc_row][vc_column][vc_column_text]
Northern Lights Photography Gear:
[/vc_column_text][/vc_column][/vc_row][vc_row][vc_column][vc_column_text]Once you’ve spent a few breathtaking moments with the dancing green lights, it is time to try and capture it. Because at the end of the day, you will want that Alaska dream shot of this experience (even though no picture does actually seeing the lights any justice).
You actually need proper photography gear to take pictures of the Northern Lights – no camera phones will be able to pick them up nicely!
The truth is, the images that come out of from modern day cameras and those bright pictures you see, will not match what you witness in real life. Our eyes sense different types of light than cameras do.
Nonetheless, they are 100% worth going hunting to see them. Here are the essential Northern Lights Photography gear.[/vc_column_text][/vc_column][/vc_row][vc_row][vc_column][vc_column_text]
Get a strong tripod that can withstand the gusty winter winds and doesn’t shake during a 25 seconds exposure. It also helps to keep your camera up and steady, ready to take that long exposure picture while you go heat your hands. God knows how hard it is to set up your tripod and camera in 4 degree weather.
With these three settings, you can play around to get the ultimate photographs of the Northern Lights. We will explain more on the settings below.

I actually found out you could from stalking pictures on Instagram and I came across one account that had insane pictures of the Northern Lights mostly taken with the GoPro.
So we put ours on a timer, set some setting with the ISO and all that, took our GoPro Selfie stick, stuck it in the snow and let it take a bunch of pictures. Aka, not great, thought out images.
They captured some light and were a bit grainy, but since we were so focused with the actual lights and using our manual camera, we just let it run. We put it on a 20 second timer with a 400 ISO. Here are some examples of GoPro Northern lights photography. Not too bad, hey?
[/vc_column_text][/vc_column][/vc_row][vc_row][vc_column width=”1/3″][vc_column_text]
Also, try to avoid taking your camera in and out of your warm bag or changing the temperatures too frequently, that also makes the battery go.[/vc_column_text][/vc_column][/vc_row][vc_row][vc_column][vc_column_text]– A shutter release cable or wireless trigger: Any little camera shake from the wind or pressing the buttons will result in a blurry unusable image, and that’s no good.
Release cables are good to use if a) you get too cold so you want to take them from inside a warm car 2) if you want to be in the picture and don’t want to run in the snow while the timer is running 3) control the shutter speed on your image.
The timer built into the camera will work if you don’t have a shutter cable. However, the cable does give you more control to take pictures than a timer and allows you to keep the shutter open as long as you want while taking away any possibility of vibrations.
The shutter is preferred, but not a necessity.
Jack wore the fingerless mittens with an underlying touchscreen gloves to control the camera and they worked great.
Gloves are still hard to use the camera but if you wear a pair of silk gloves or thermal ones underneath the fingerless, it will help you access your cameras with less frozen fingers.[/vc_column_text][vc_column_text]
[/vc_column_text][/vc_column][/vc_row][vc_row][vc_column][vc_column_text]
Camera Settings
So we mentioned getting a manual camera with ISO, Aperture, and shutter speed. Because you will be shooting in near pitch darkness (hopefully), you will want to have full control of these functions. Let’s start with this great diagram we found to explain these basic better than words can.
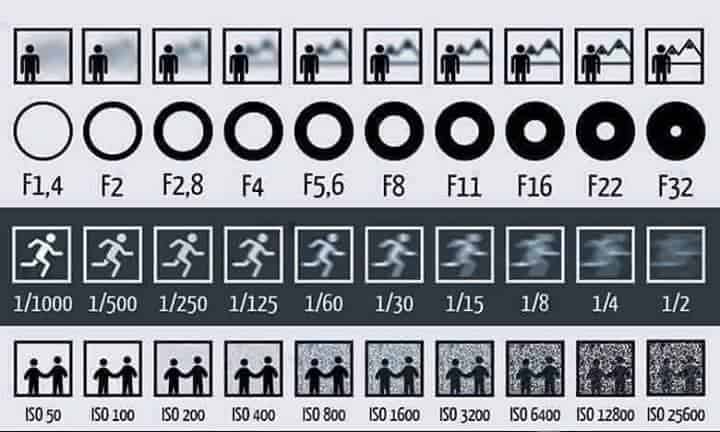
There isn’t a correct Northern Lights photography formula, it really is all about playing around with your settings. With that being said, we will help you with some tips we learned along the way (and some tips passed down from Jody) in photographing the Auroras.[/vc_column_text][/vc_column][/vc_row][vc_row][vc_column][vc_column_text]
Tips for getting the perfect shot:
1. Stay away from the dense city population and light pollution. The more city lights there are, the less you will be able to see the lights. And it affects the clarity in the photos.
3. You want your light sensitivity (the ISO) to be between 200 and 800 to reduce graininess. You want to keep the ISO as low as possible.[/vc_column_text][/vc_column][/vc_row][vc_row][vc_column width=”1/2″][vc_column_text]
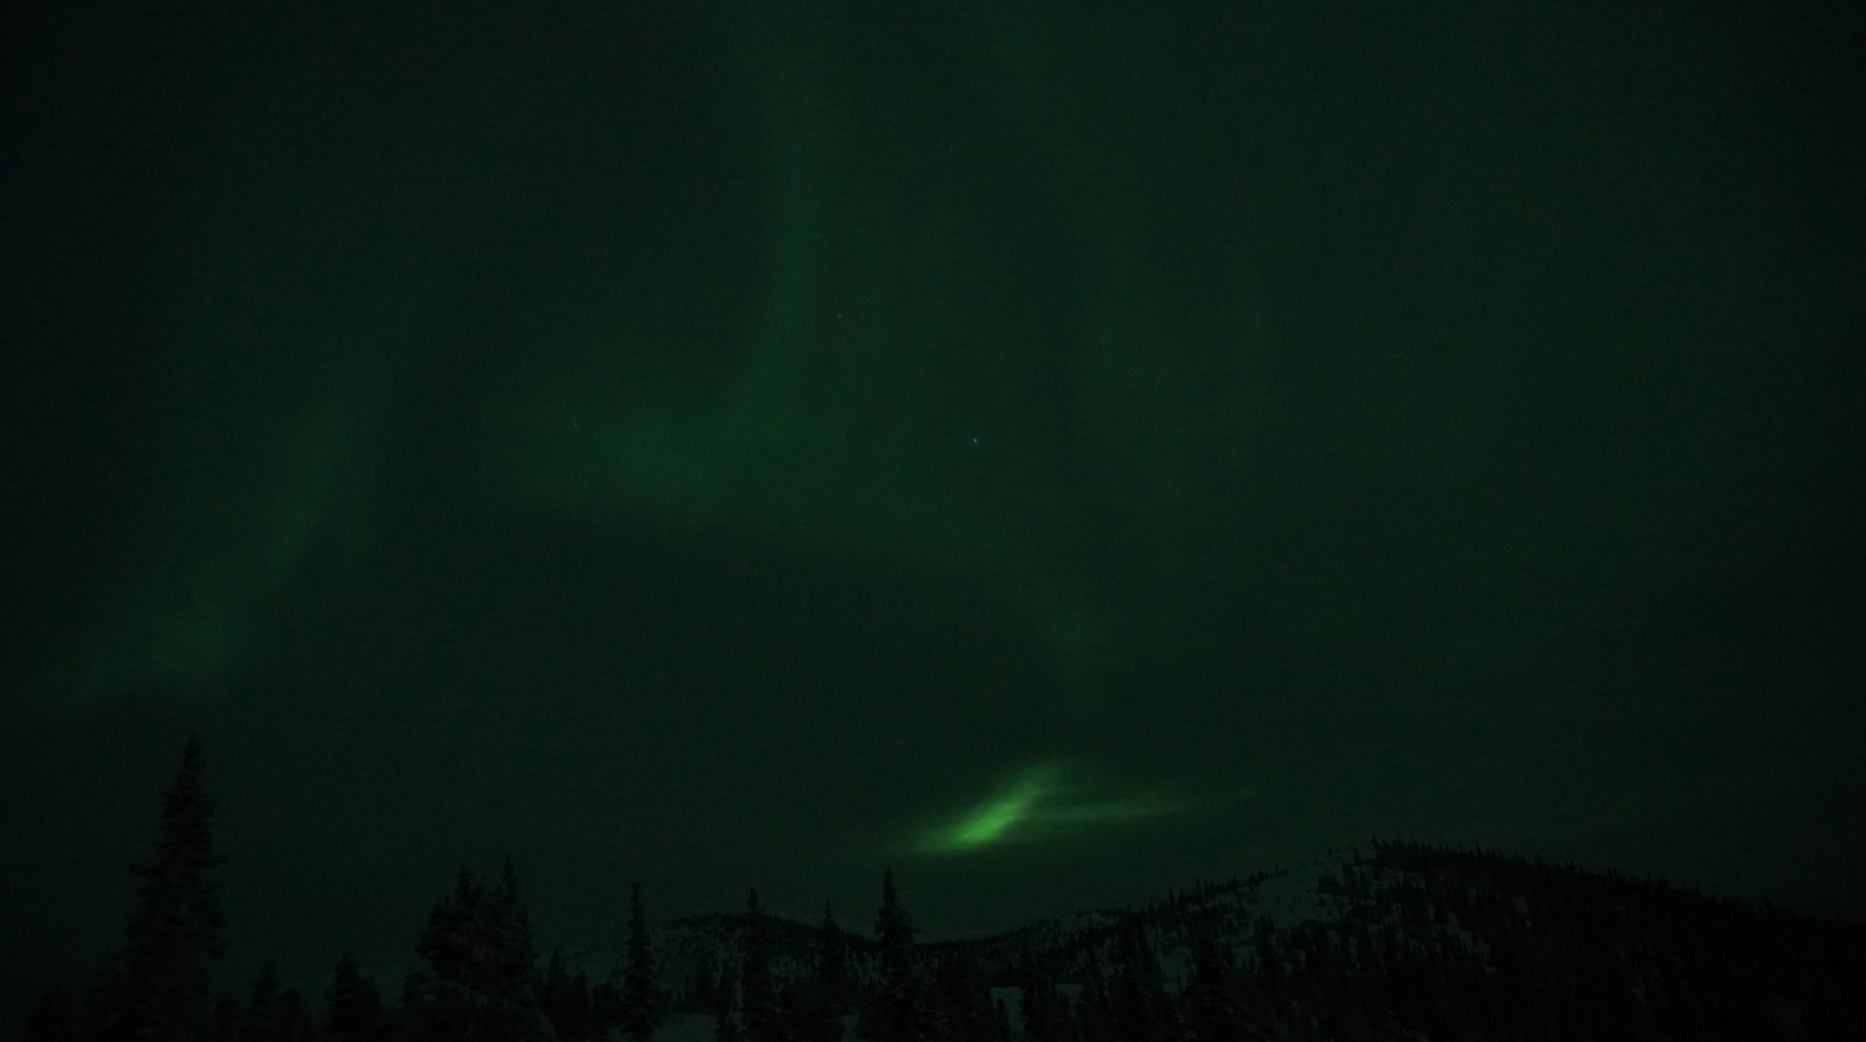
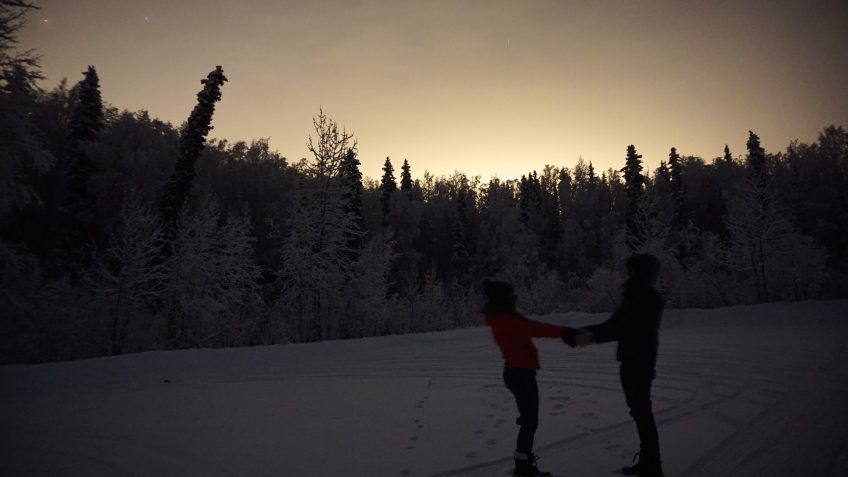
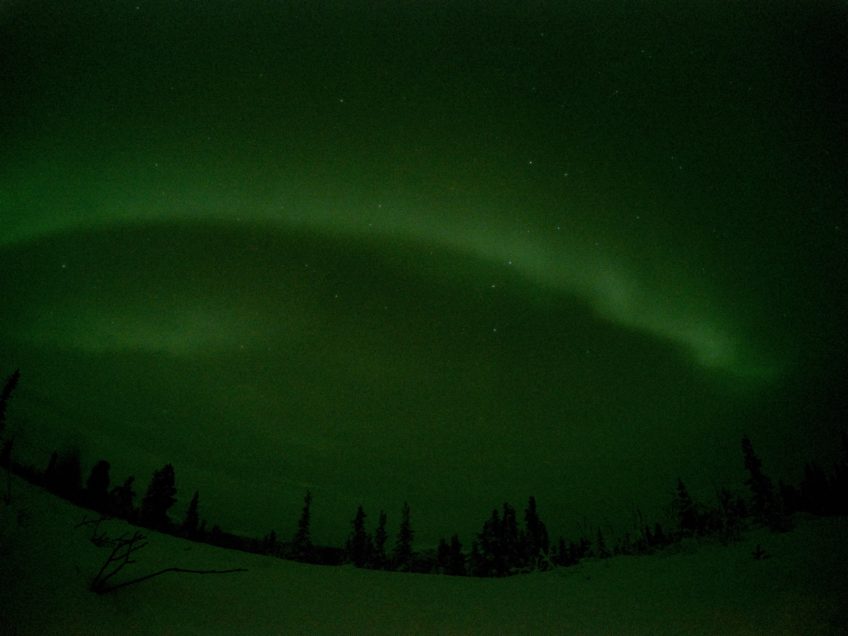
This picture was taken at an ISO of 2500 but exposure time of 4 seconds which is not enough time to let in all the light![/vc_column_text][/vc_column][vc_column width=”1/2″][vc_column_text]
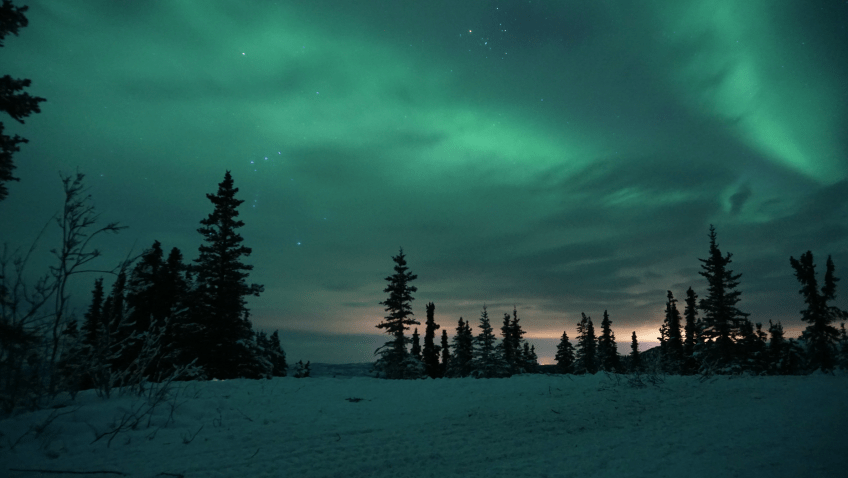
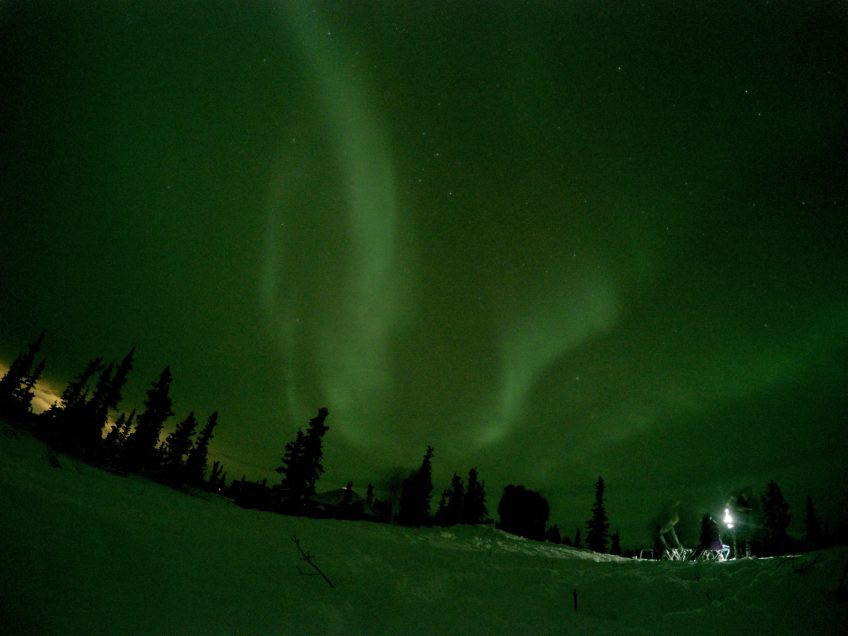
This picture on the other hand, has an ISO of 250, F/3.5 and an exposure time of 20 seconds. Big difference, hey?[/vc_column_text][/vc_column][/vc_row][vc_row][vc_column][vc_column_text]4. We kept our exposure time between 10-30 seconds per shot. Shorter time is best if the auroras are moving quickly (or if you plan to run into the shot) and longer time is better for slower moving auroras and the stars![/vc_column_text][/vc_column][/vc_row][vc_row][vc_column][vc_column_text]
Different brightness of lights require different settings, so don’t get frustrated if the pictures aren’t perfect each time.[/vc_column_text][/vc_column][/vc_row][vc_row][vc_column][vc_column_text]6. Since it will be in the dark, bring a flashlight or a headlamp to pave your paths in the darkness and find the proper settings on the cameras. Obviously, turn off any light before taking the photos.
Also be mindful of others around you taking a picture. Your lights will shine through to theirs, so turn it off when you are not using it.[/vc_column_text][/vc_column][/vc_row][vc_row][vc_column][vc_column_text]7. Find clear skies and dark skies. You can definitely see the auroras on partially cloudy nights, but the clearer the skies, the more you can see! Simple.[/vc_column_text][/vc_column][/vc_row][vc_row][vc_column][vc_column_text]8. Always check the aurora activity (on the GI forecast) for the night of your shoot. You are looking for a KP-index of at least a 3 or above for a decent shot to see the lights.[/vc_column_text][/vc_column][/vc_row][vc_row][vc_column][vc_column_text]9. Don’t forget it’s mother nature, so even if you set up camp for 5 hours, they can appear for only 5 minutes.[/vc_column_text][/vc_column][/vc_row][vc_row][vc_column][vc_column_text]
Where was your favorite place to see the Northern Lights?
[/vc_column_text][/vc_column][/vc_row]

These are excellent tips! Thank you so much. We have family in Alaska we keep talking about visit. Hopefully we can plan well, and use this info to get some great thoughts. <3
The Way you designed and explained is really great